Tile Installation
Tile that brings the room together, right down to the grout.
From a backsplash with personality to a bathroom floor that feels at home, JSW helps you plan the surface beneath the tile, the layout, and the finishing details. Explore the studios below to see what feels right for your room.
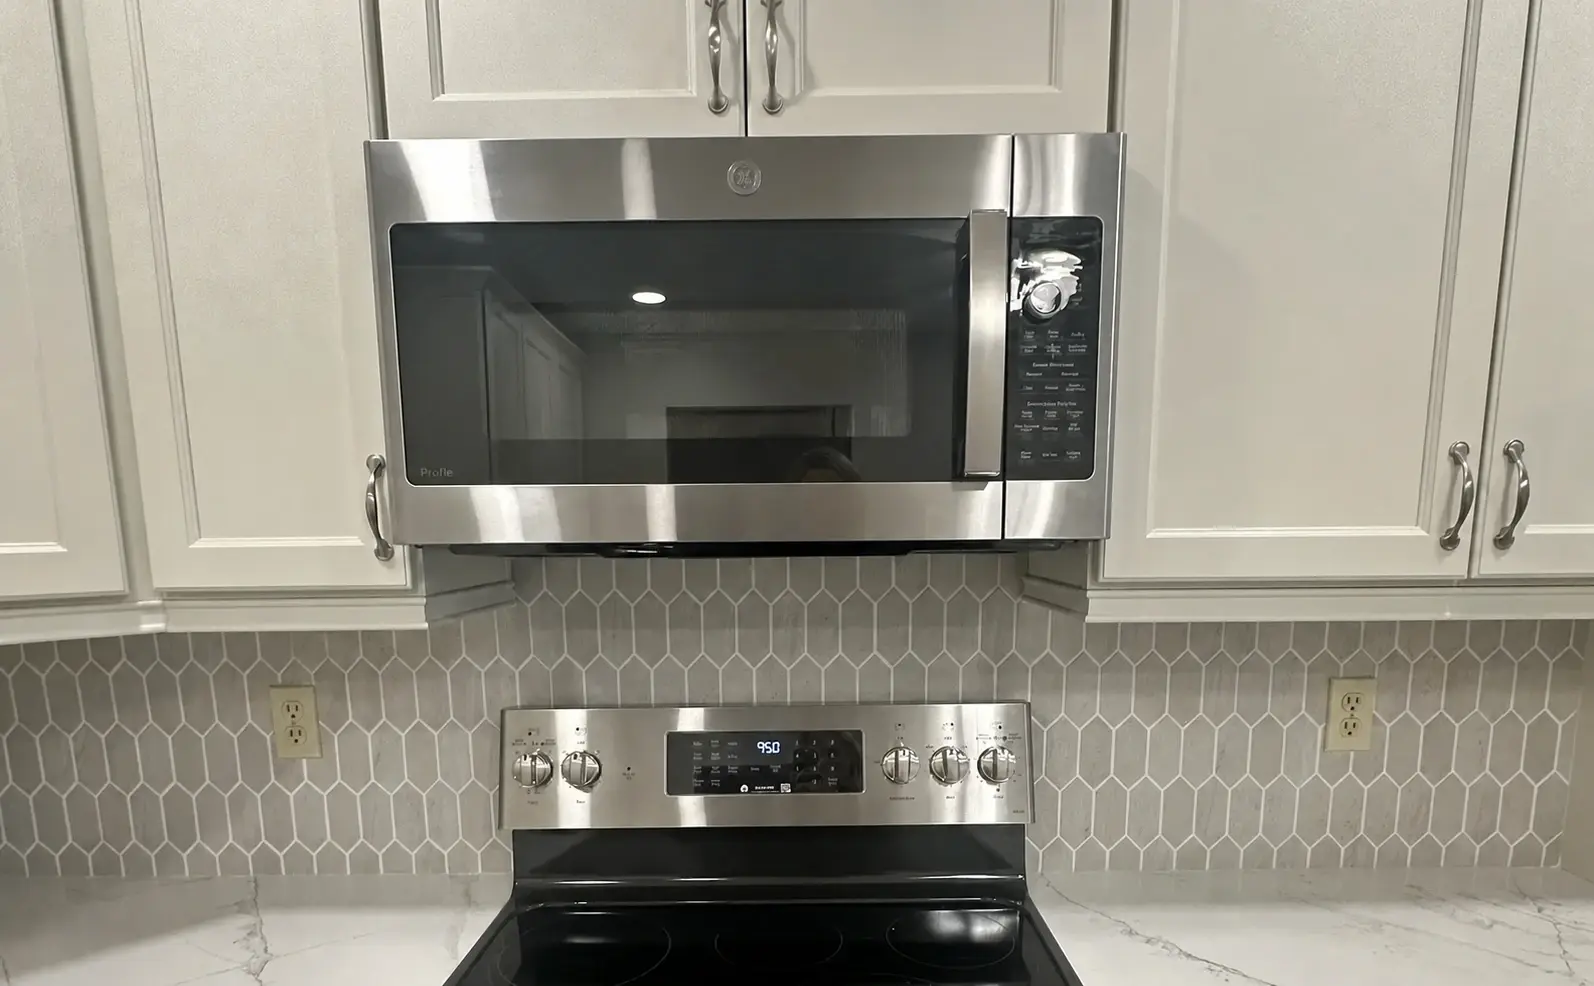
Backsplash Tile Studio
Find your finishing touch in the Backsplash Design Studio
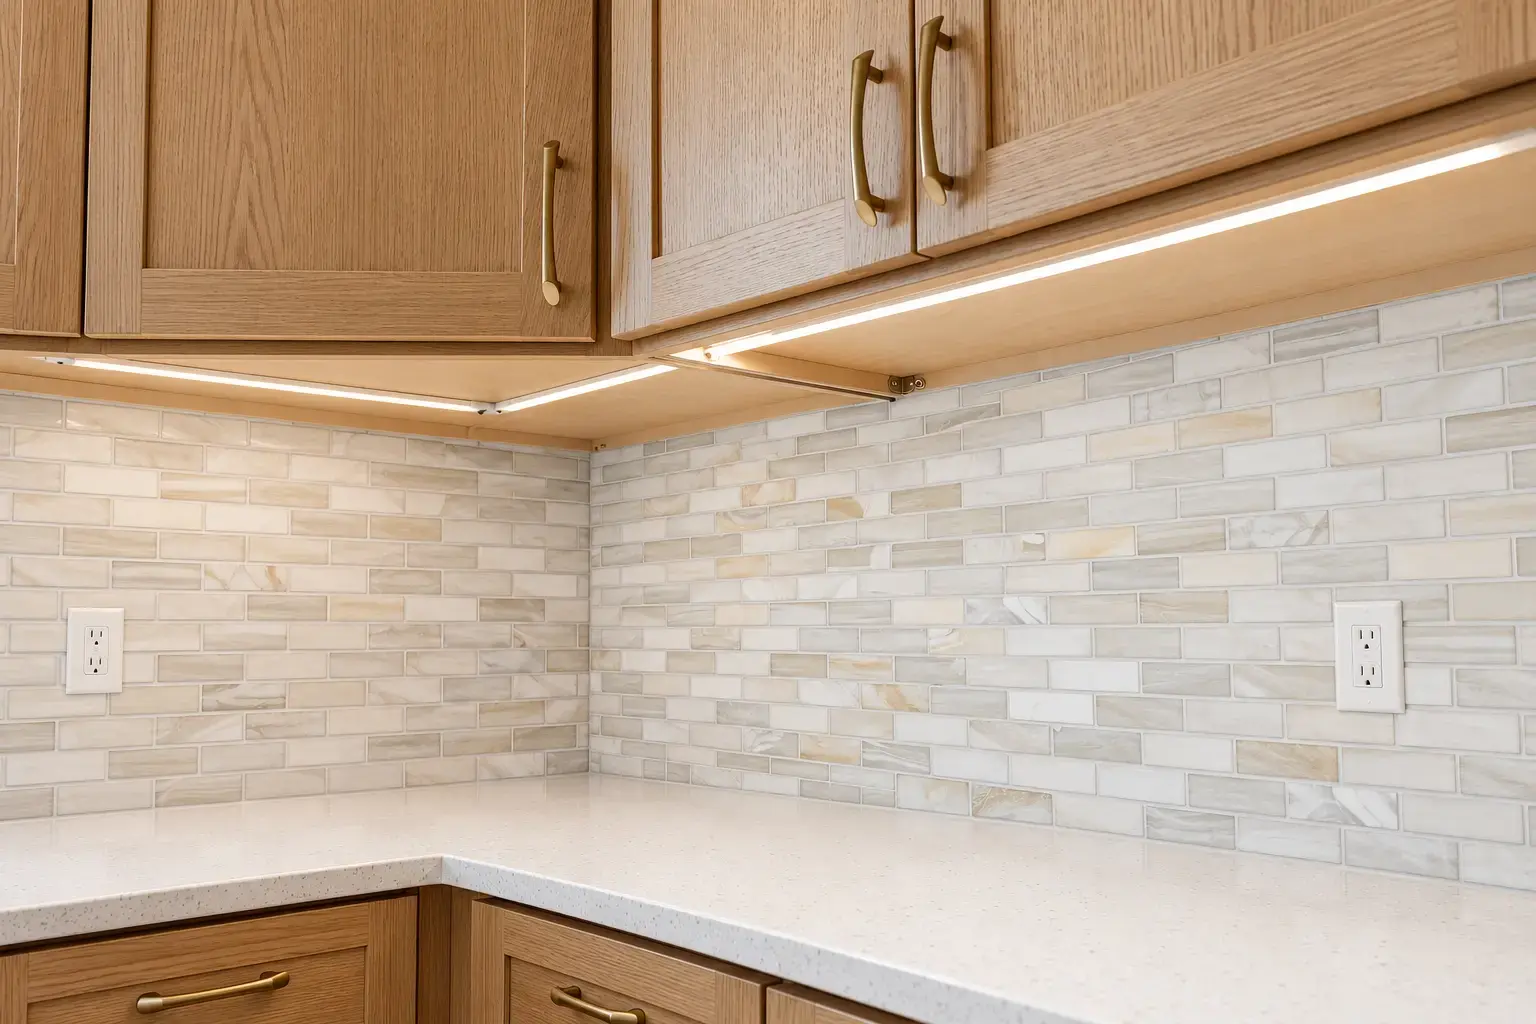
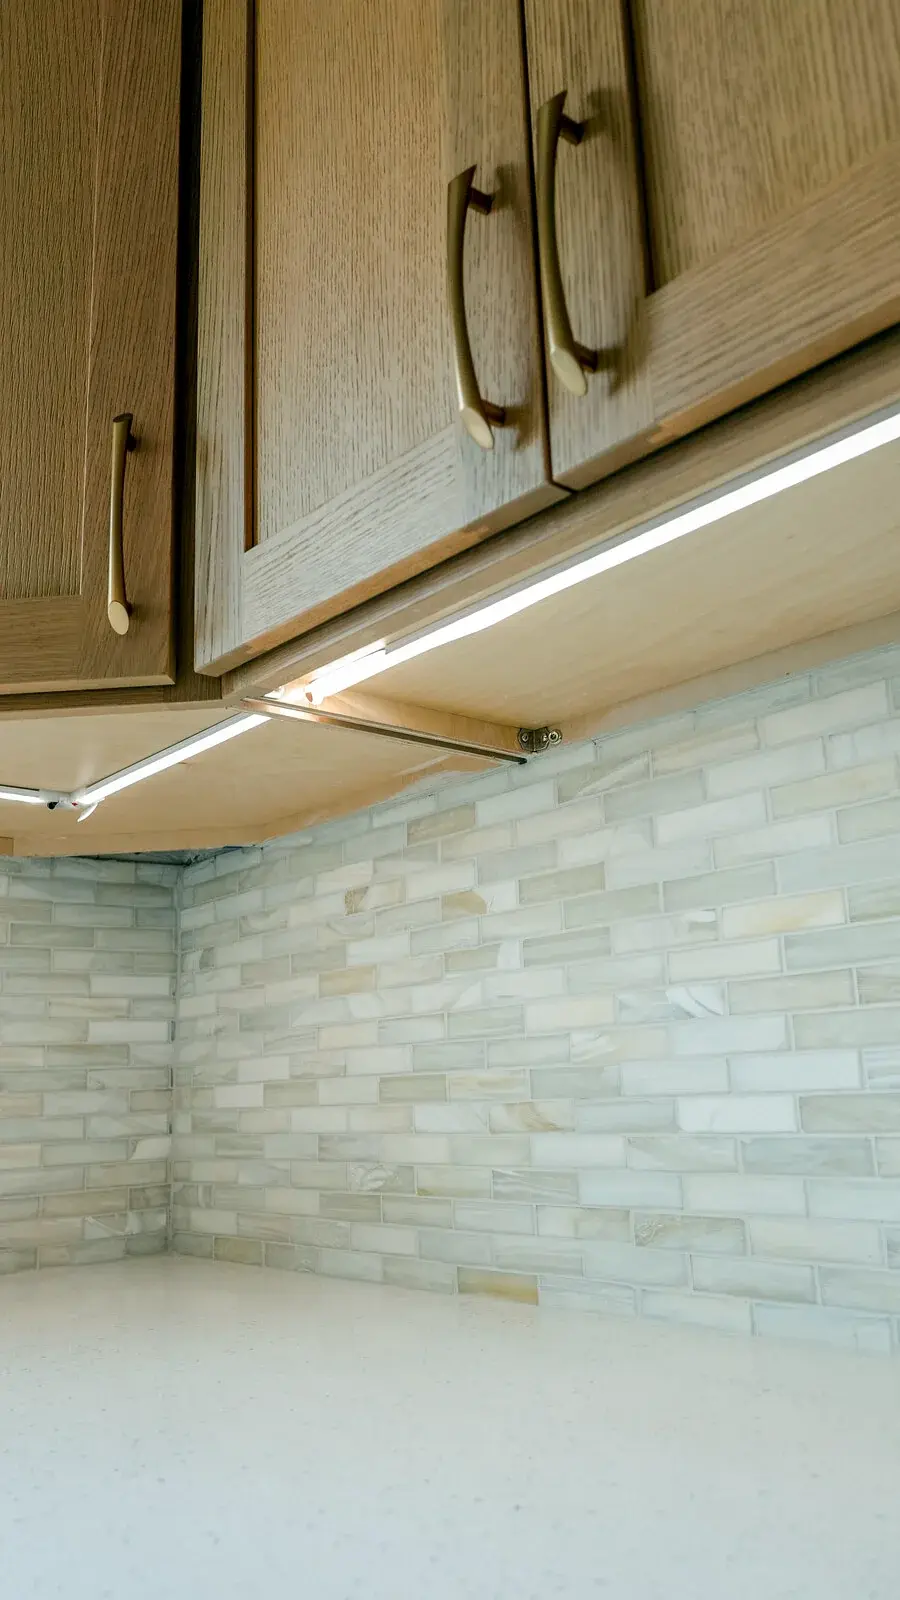
JSW plans the edges, outlets, and details that help a backsplash belong. Compare six backsplash looks in the kitchen, then save a favorite and any notes for your estimate.
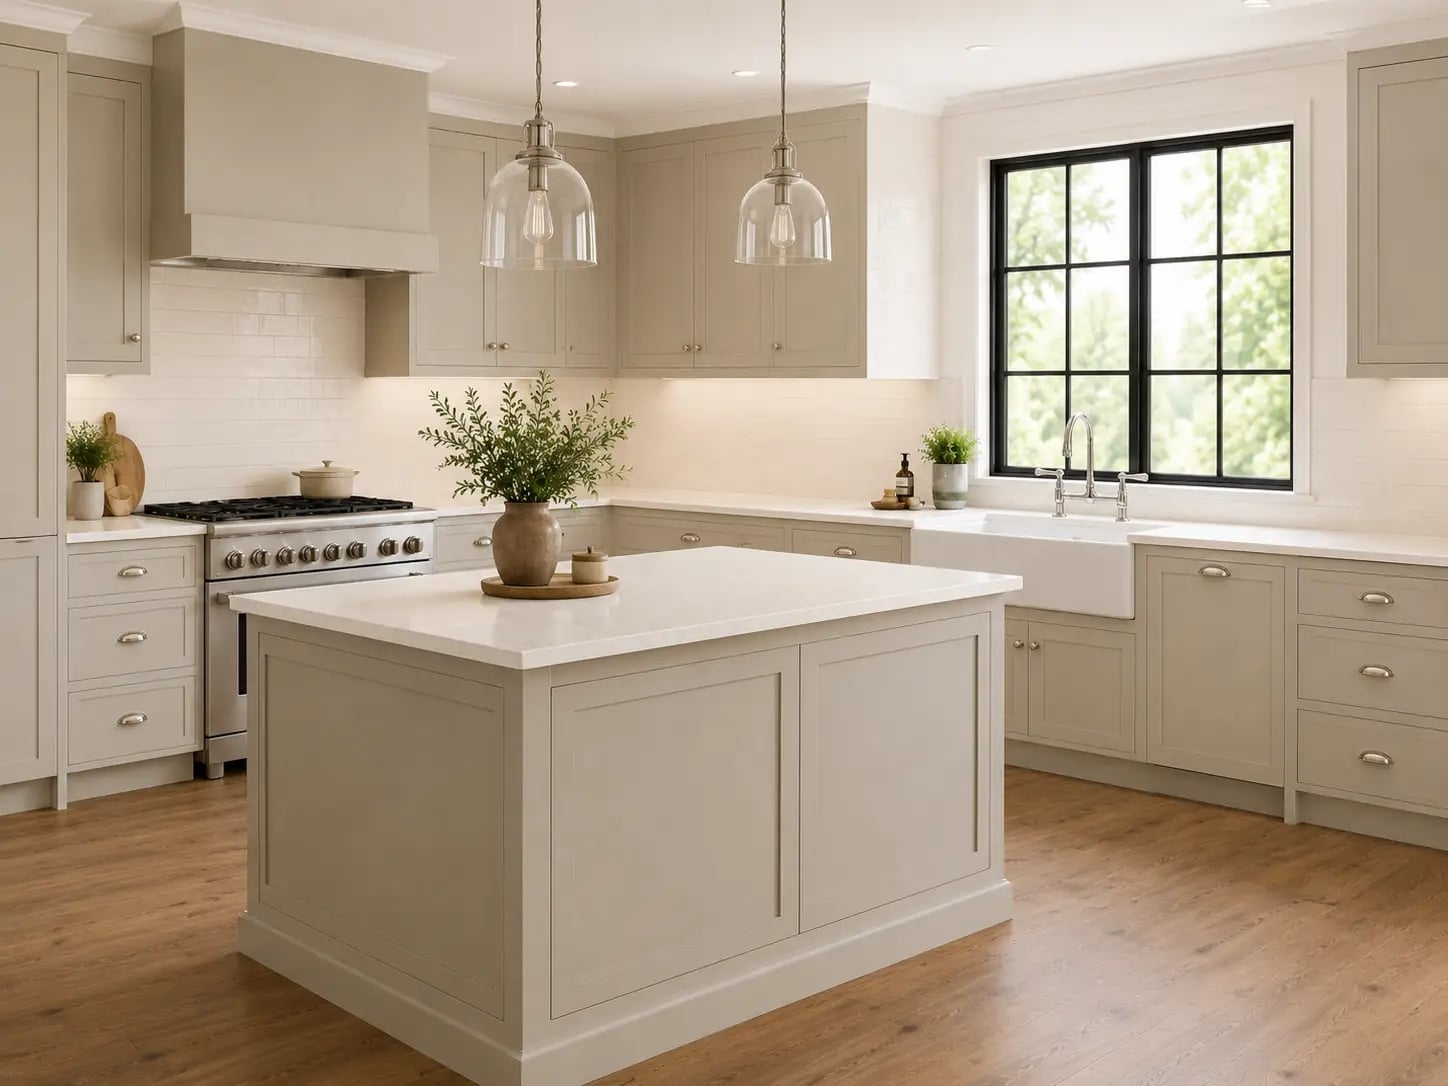
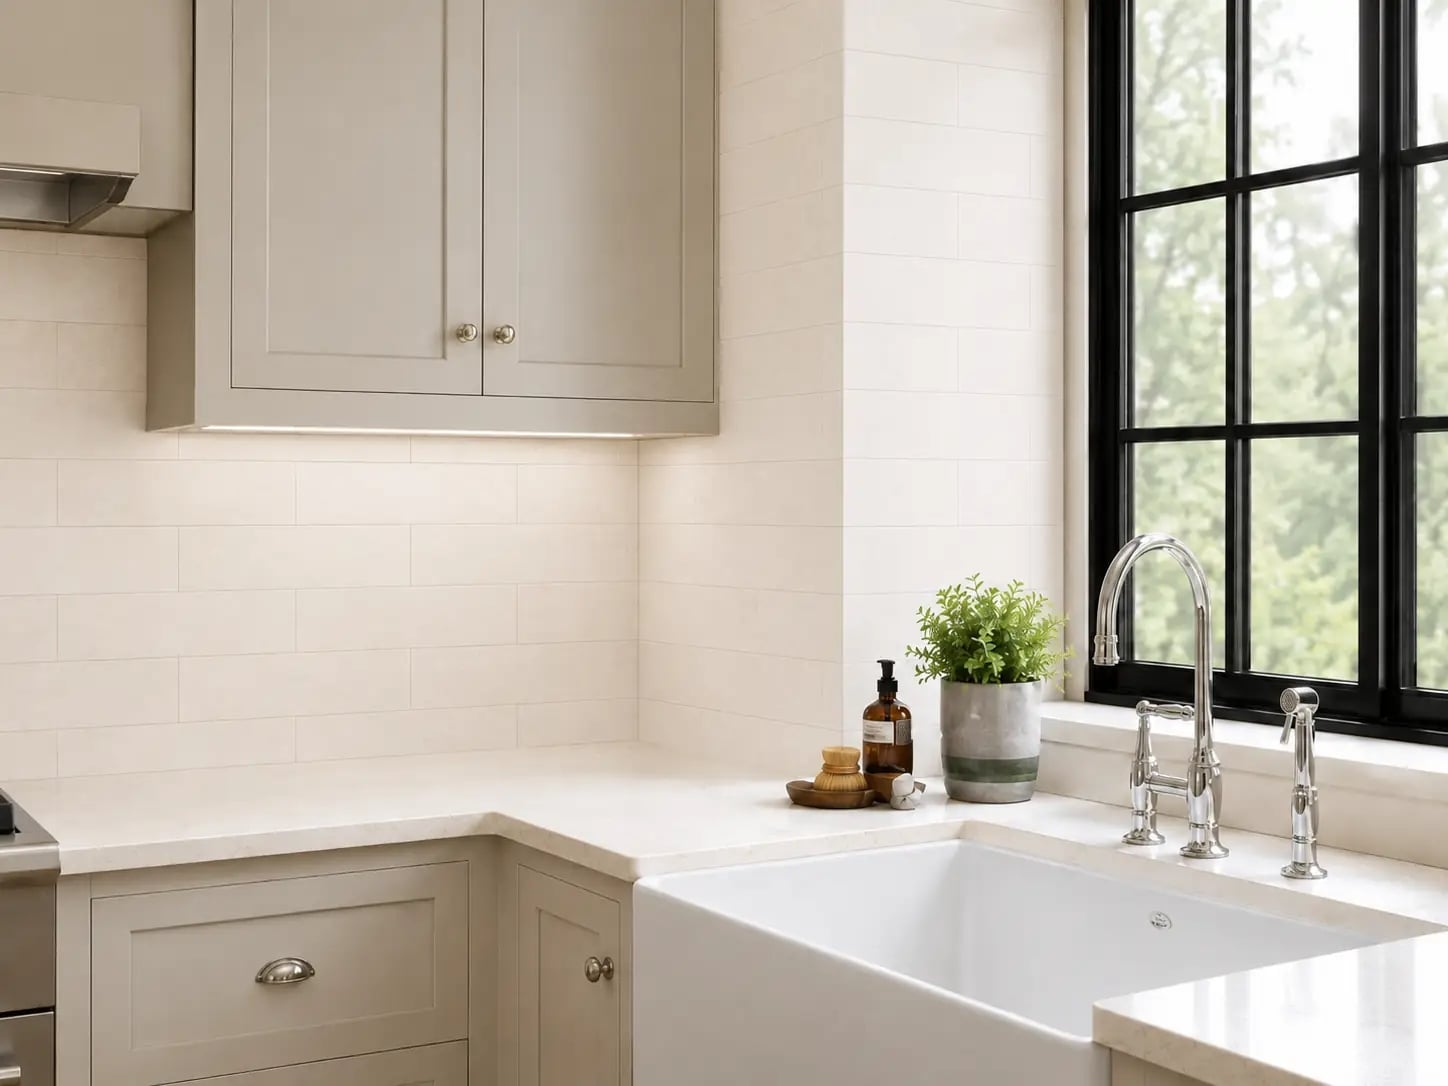
Save the selected finish and add any grout, edge, outlet, or transition detail you want JSW to review.
Tile Flooring
See how floor tile can organize the room from the ground up.
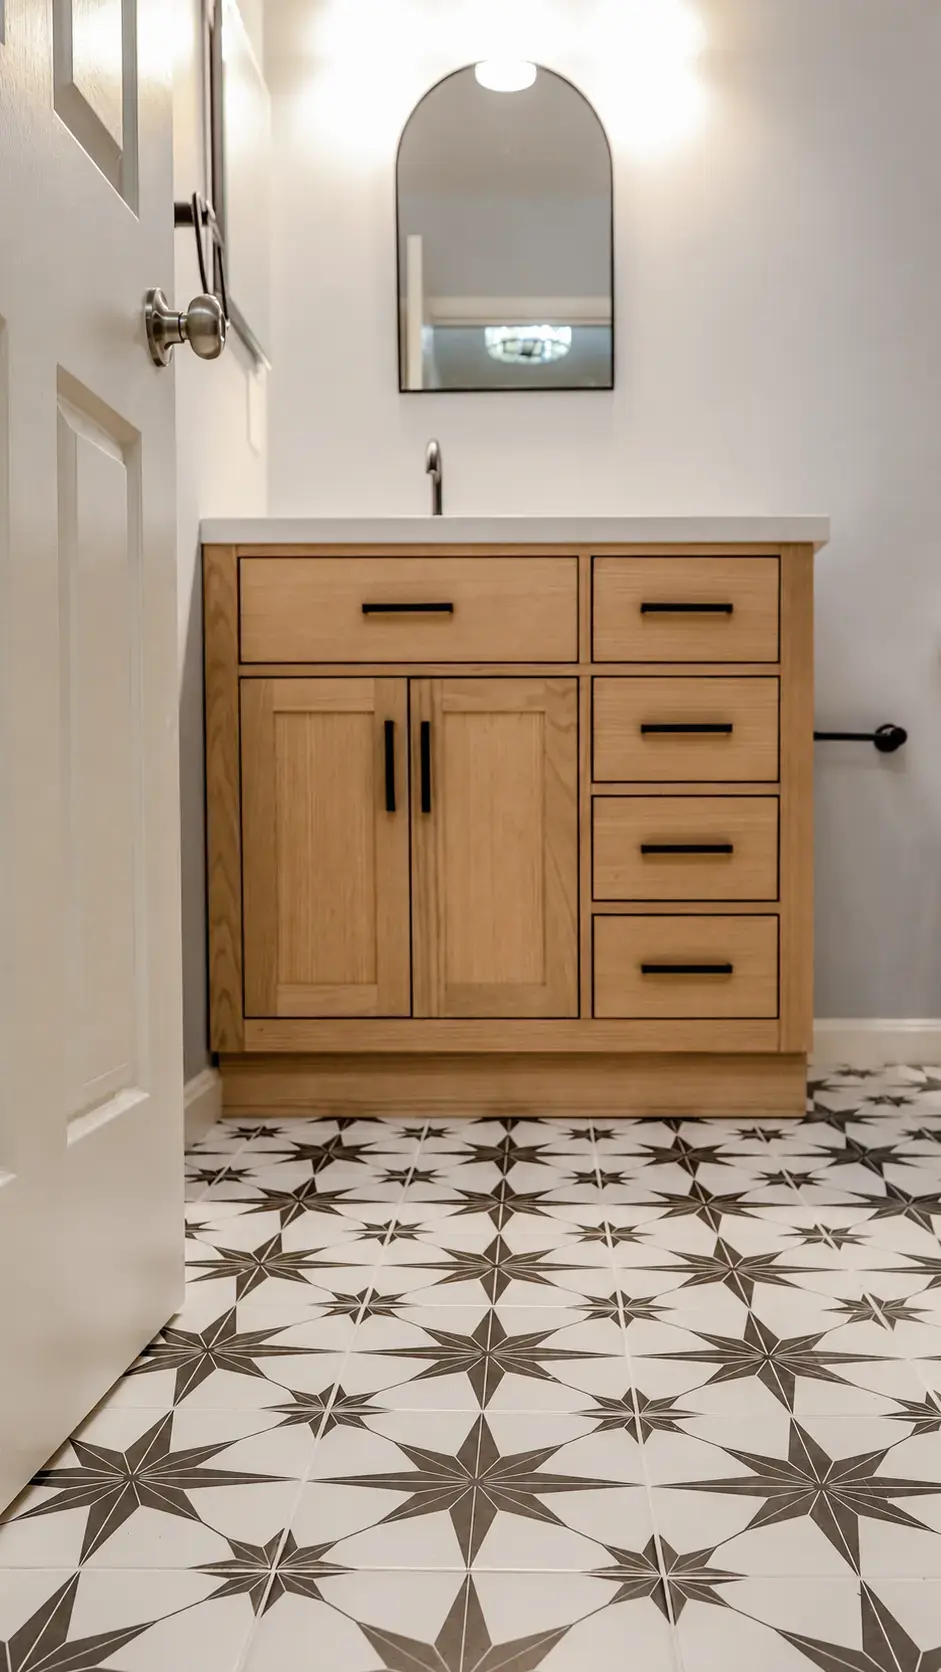
Floor tile changes the room's rhythm, light, maintenance, and transitions. Compare finished room views at a useful scale so the tile remains the focus while cabinets, fixtures, doorways, and traffic paths stay in context.
A high-contrast pattern can give a compact room a clear identity when the repeat, perimeter cuts, and threshold are carefully resolved.
Bathroom Tile Surfaces
Choose the bathroom surface you want JSW to plan.
Shower walls, shower pans, tub surrounds, niches, and bathroom floors each ask for a different balance of moisture planning, scale, transitions, grout, and daily maintenance.
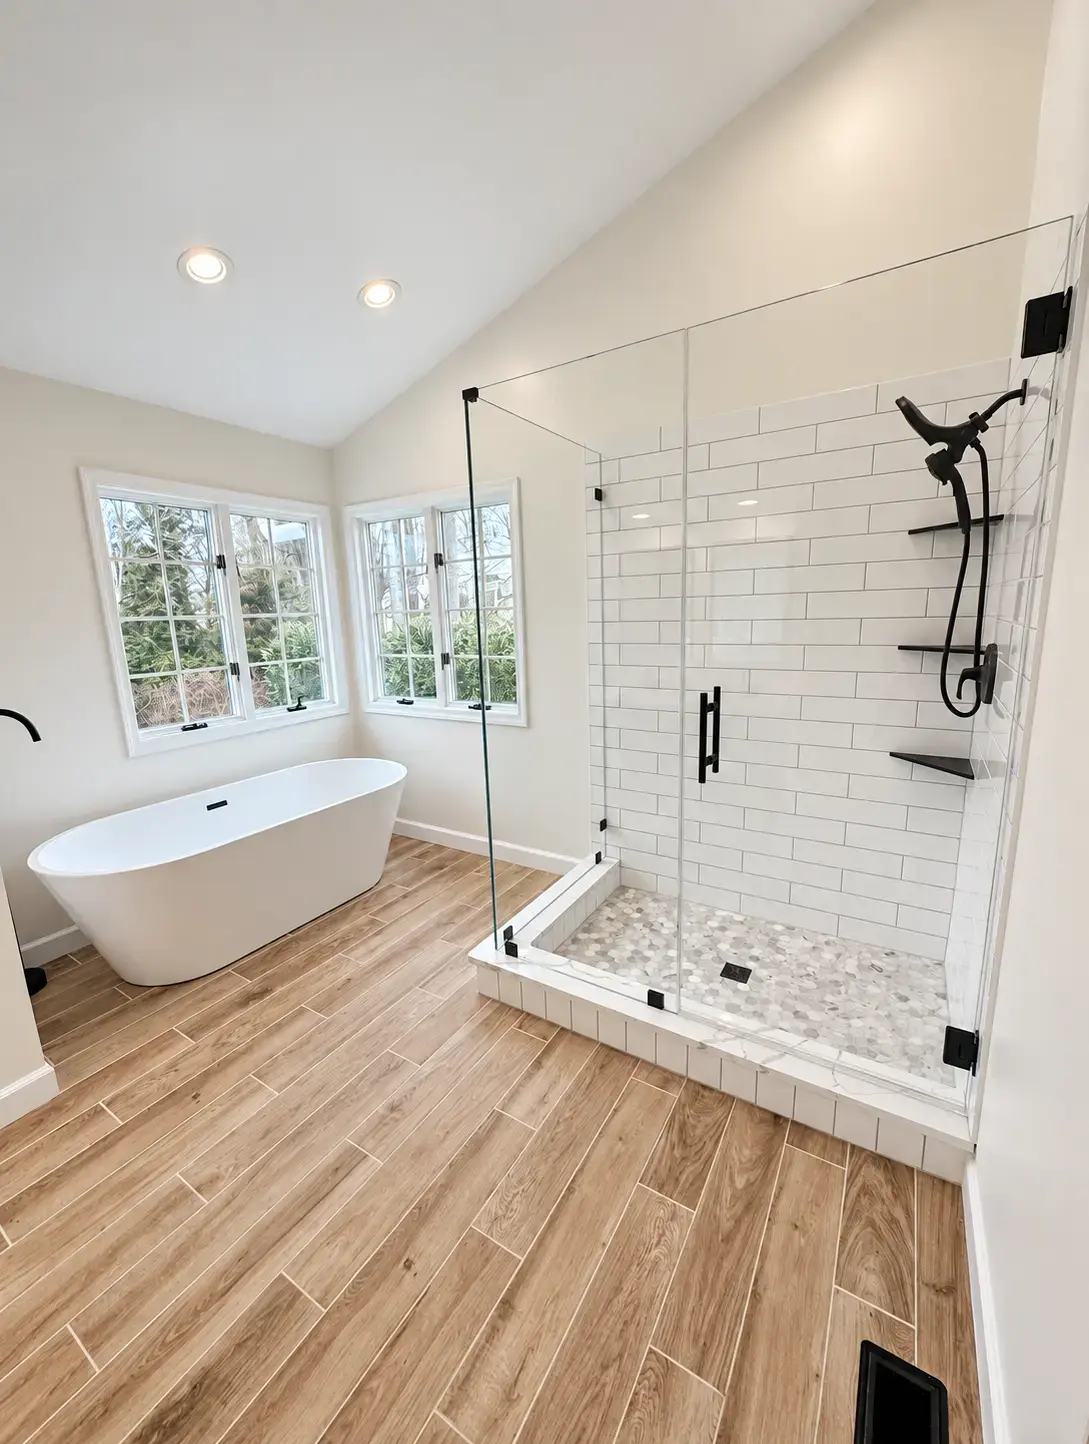
Plan the tile field around valves, shelves, glass, corners, and the transition from the shower to the rest of the room.
Project imagery supports the planning conversation. Final product composition, slip rating, sealing, and maintenance should be confirmed from the selected tile specifications.Finished Bathroom Views
Compare how tile works across the whole bathroom.
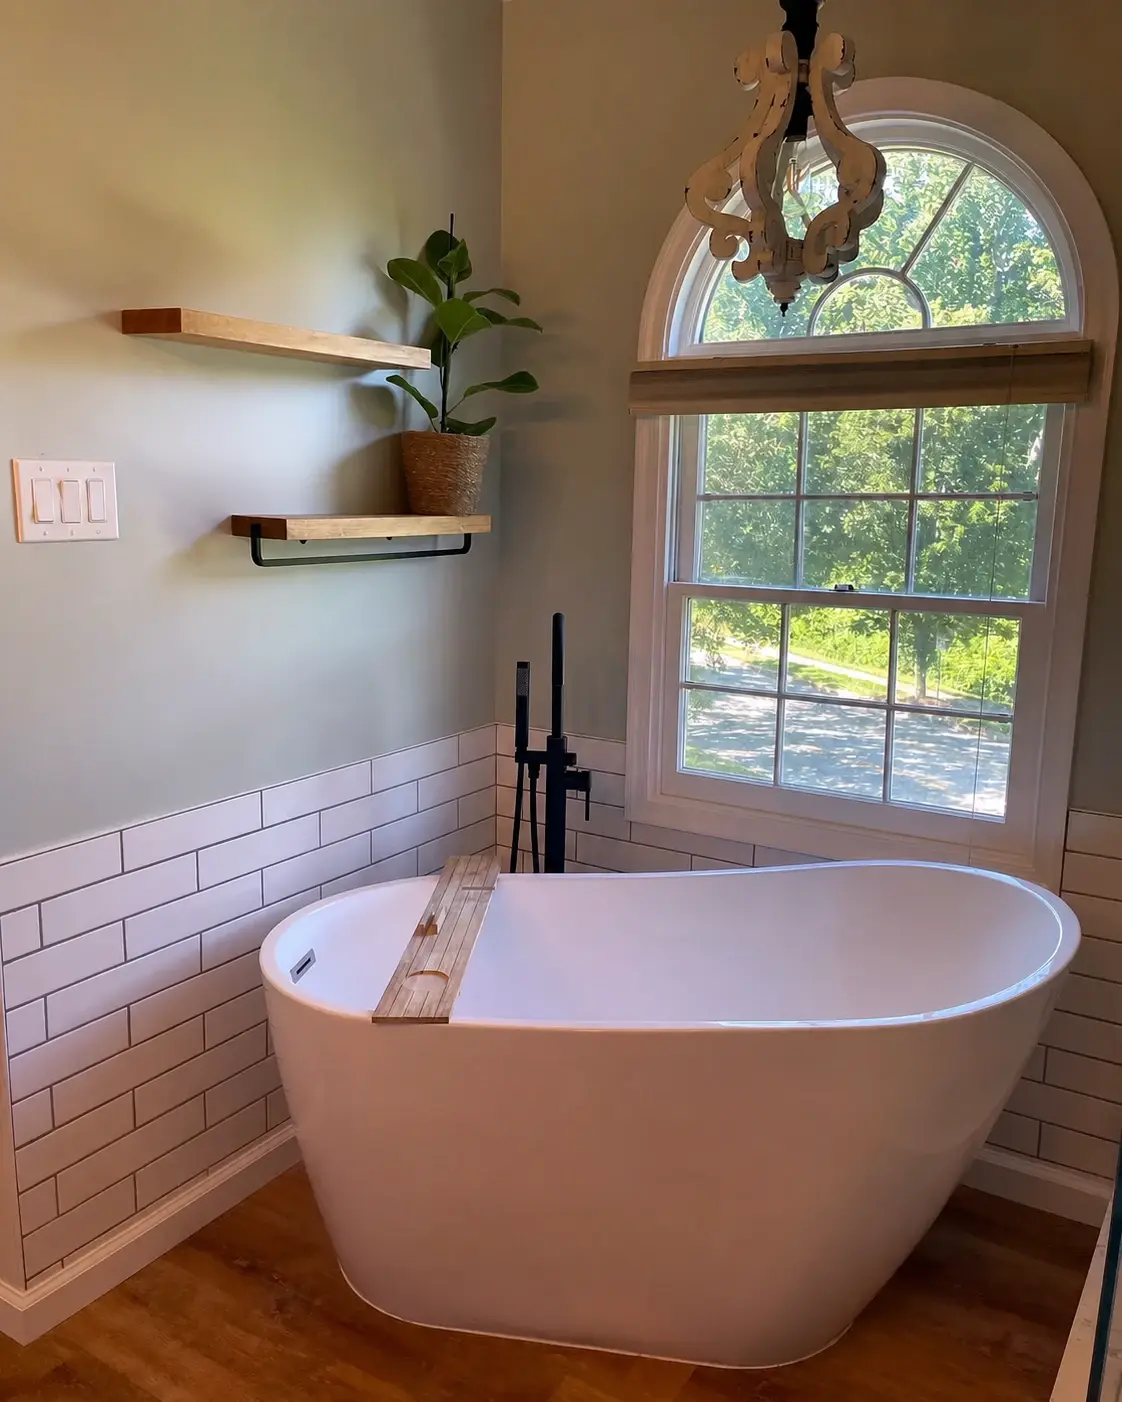
Review the tile at room scale, where shower glass, tubs, vanities, fixtures, painted walls, thresholds, and floor patterns all have to feel intentionally connected.
Tile Project View
See how the planning focus shifts from one tile project to the next.
Use the project viewer to compare the details that matter most in different rooms and surfaces. Each example is a finished-result reference, while the estimate determines what your surface needs before installation.
Start a Tile Estimate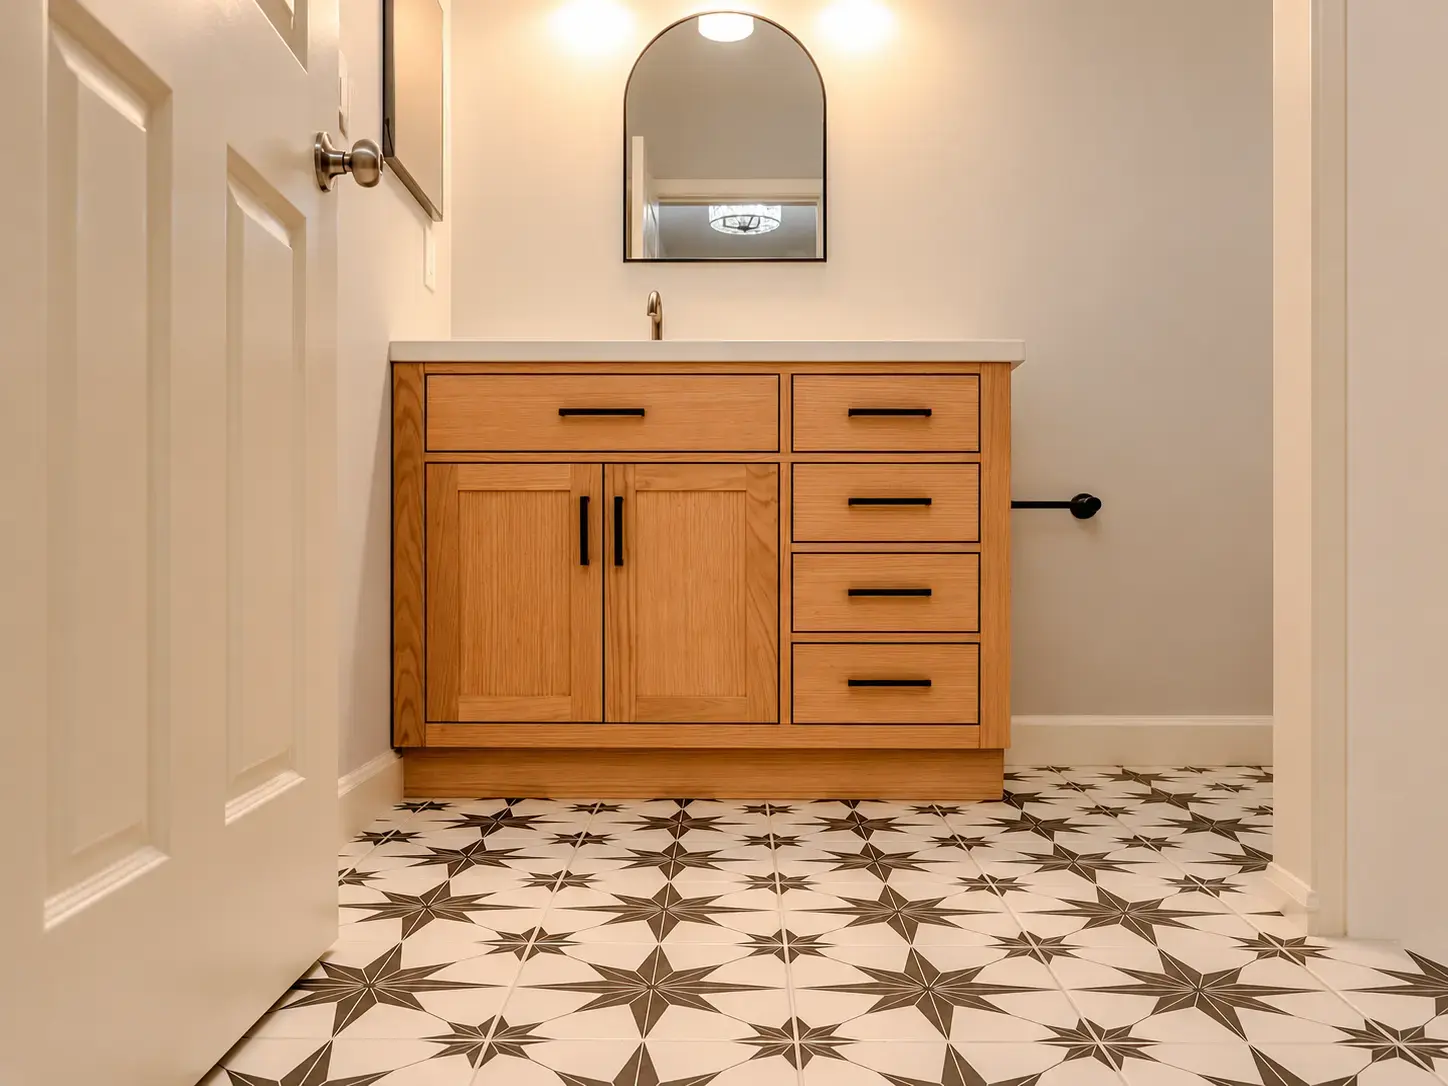
Request a Tile Estimate
Start with the surface, then tell us what you want the room to feel like when it is finished.
Share the project area, the current surface, and any tile, pattern, grout, or transition ideas you already have. Your selections from the planning tools are carried into the request automatically.